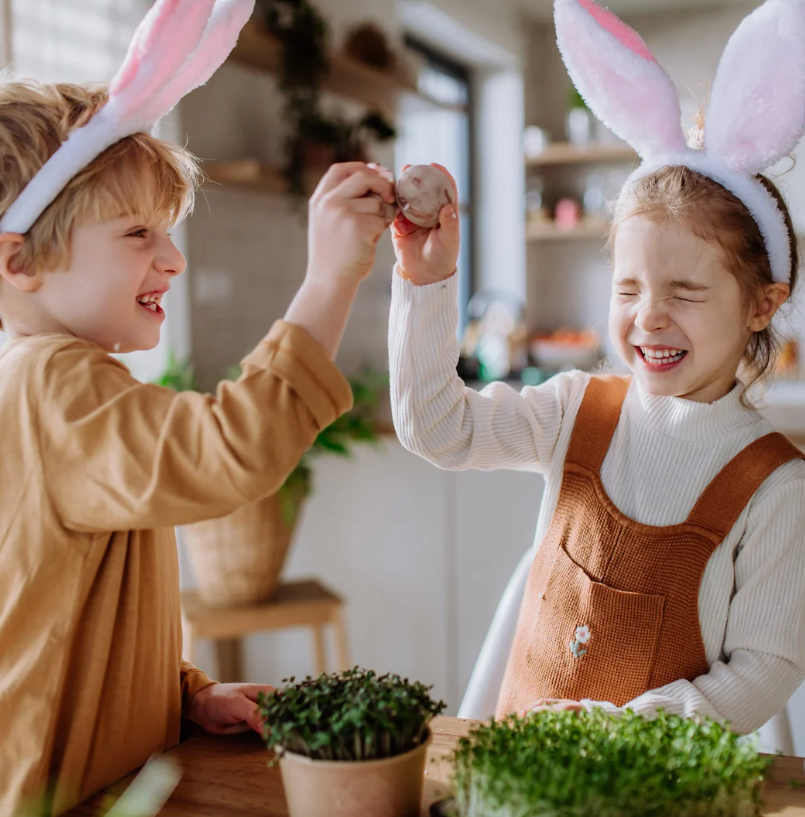


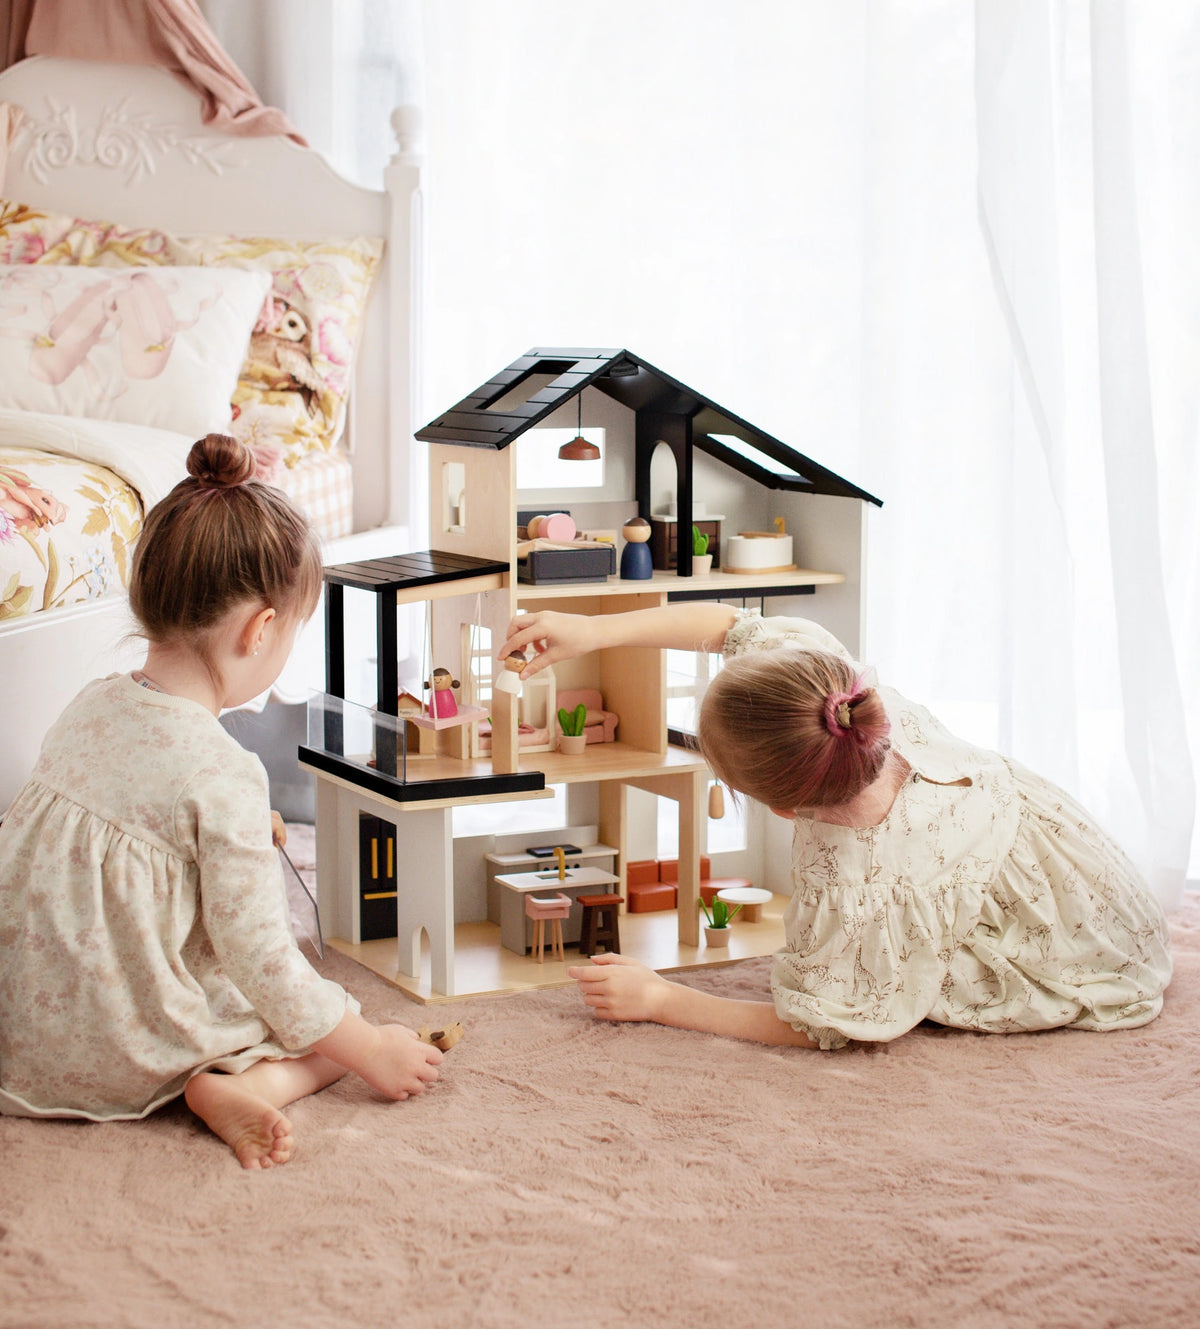


Spring has arrived, and Easter is just around the corner! This year, we’ve gathered 10 fun and educational activities that are perfect for at-home family time. Some use our Tiny Land products, while others need just everyday materials. Each activity includes tips and creative twists to inspire parents and make your Easter extra special.
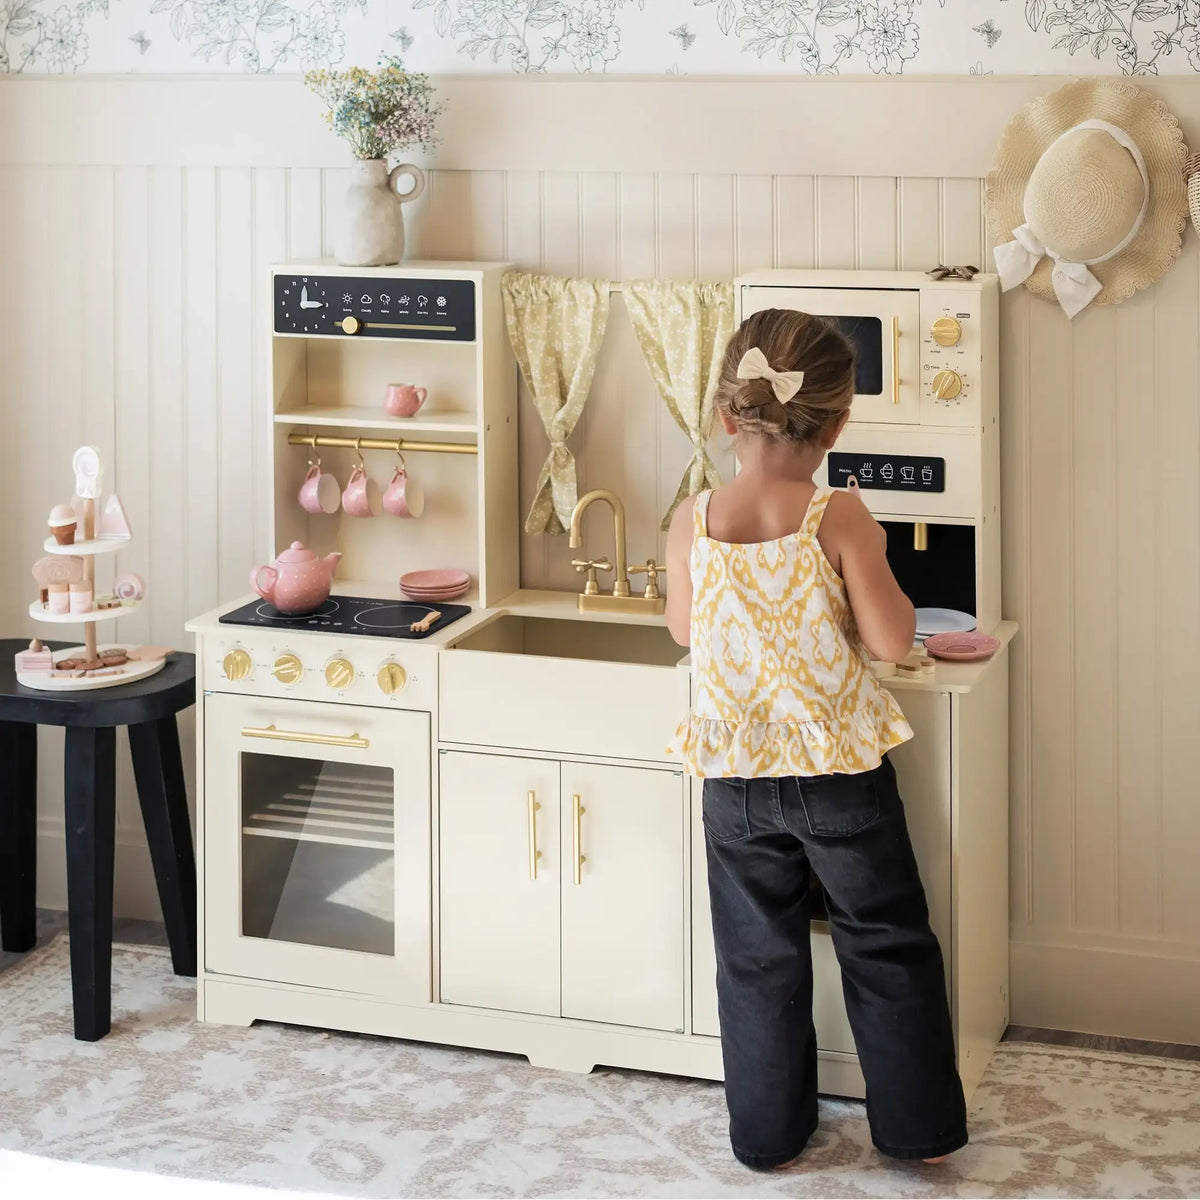
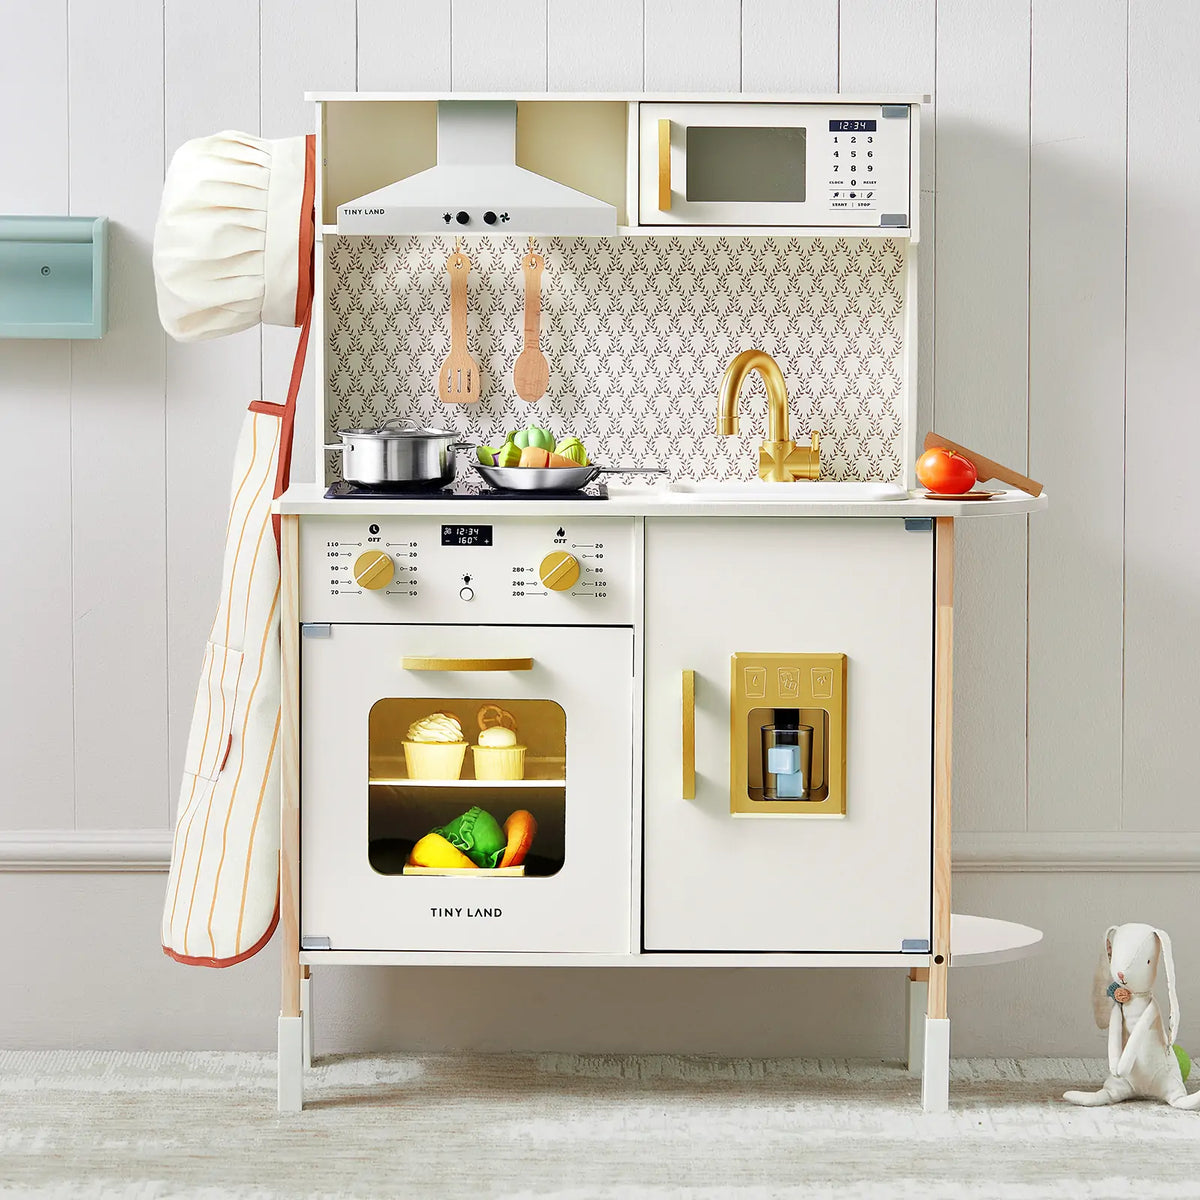
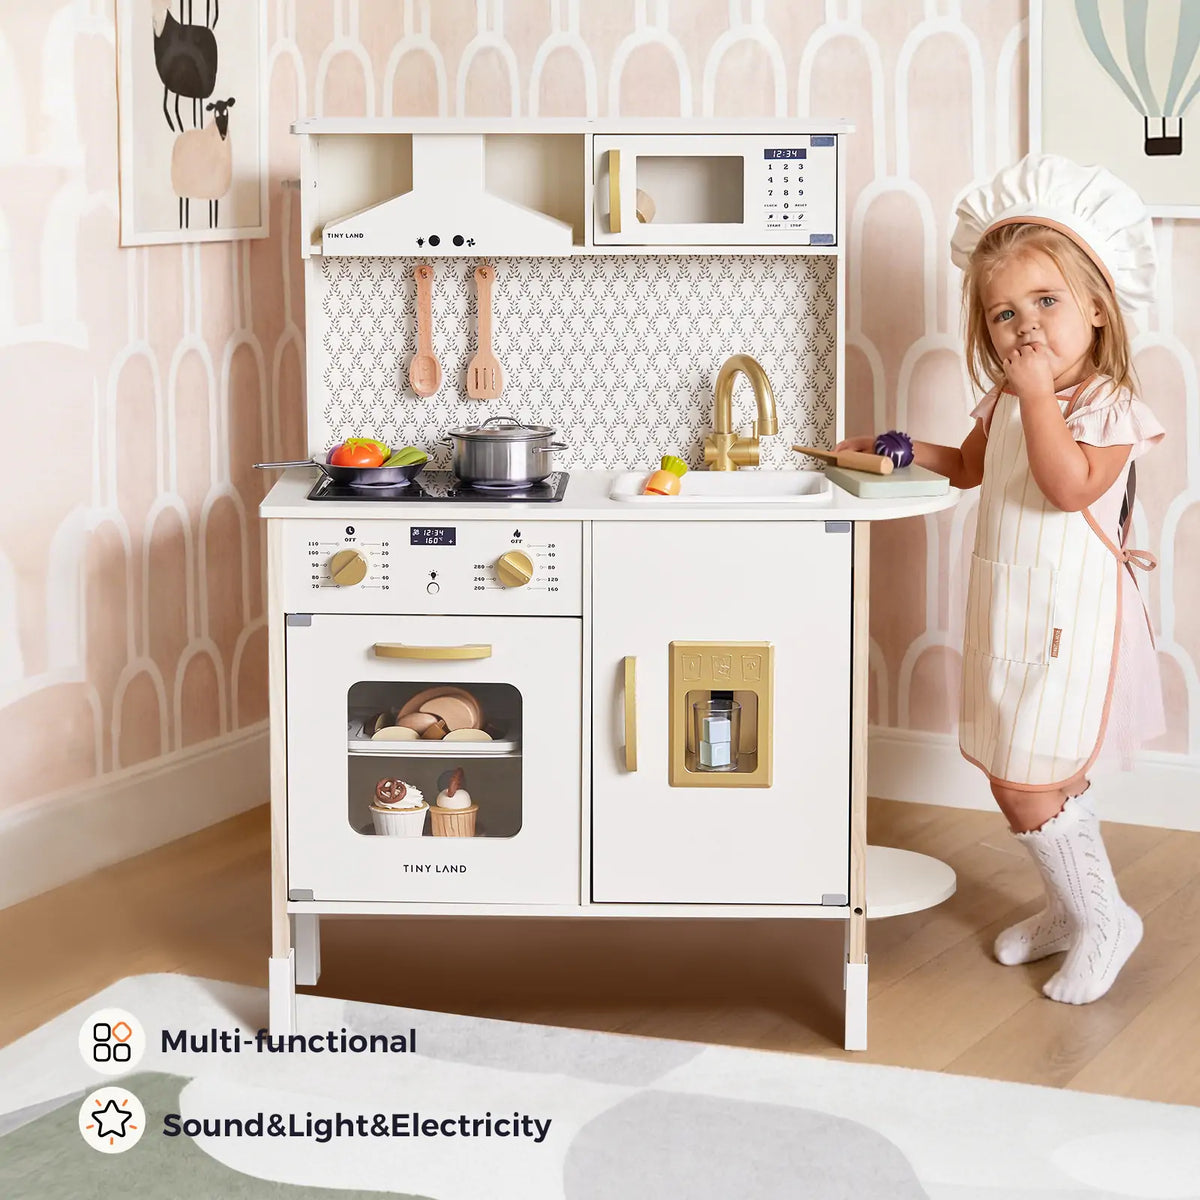
Bunny Biscuits in Your Child-Sized Kitchen
Ages: 2+ | Parent involvement: High
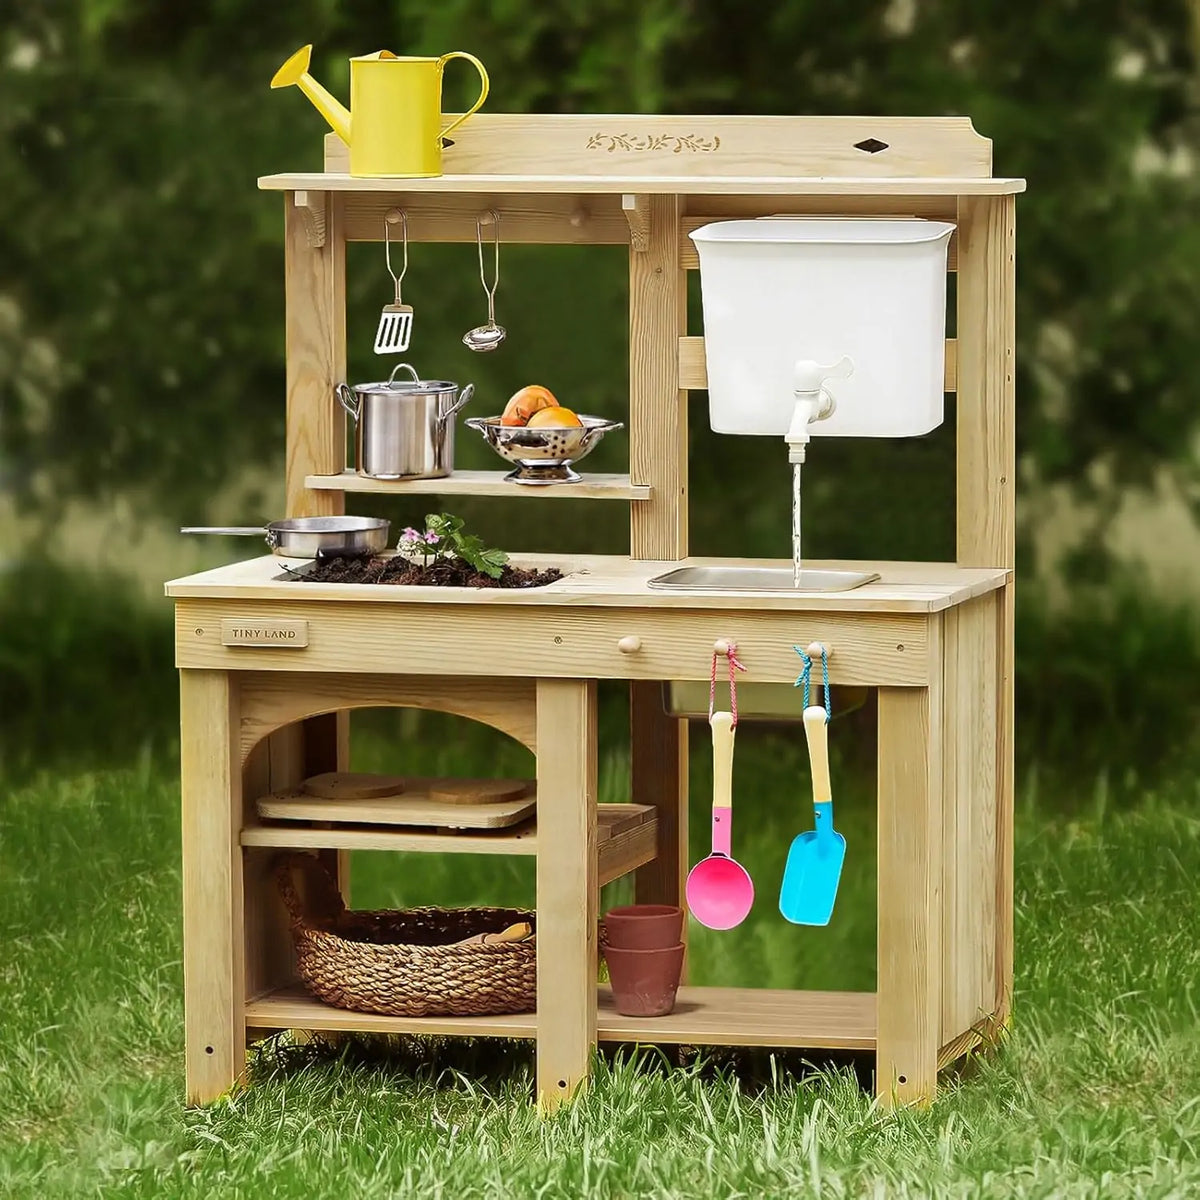
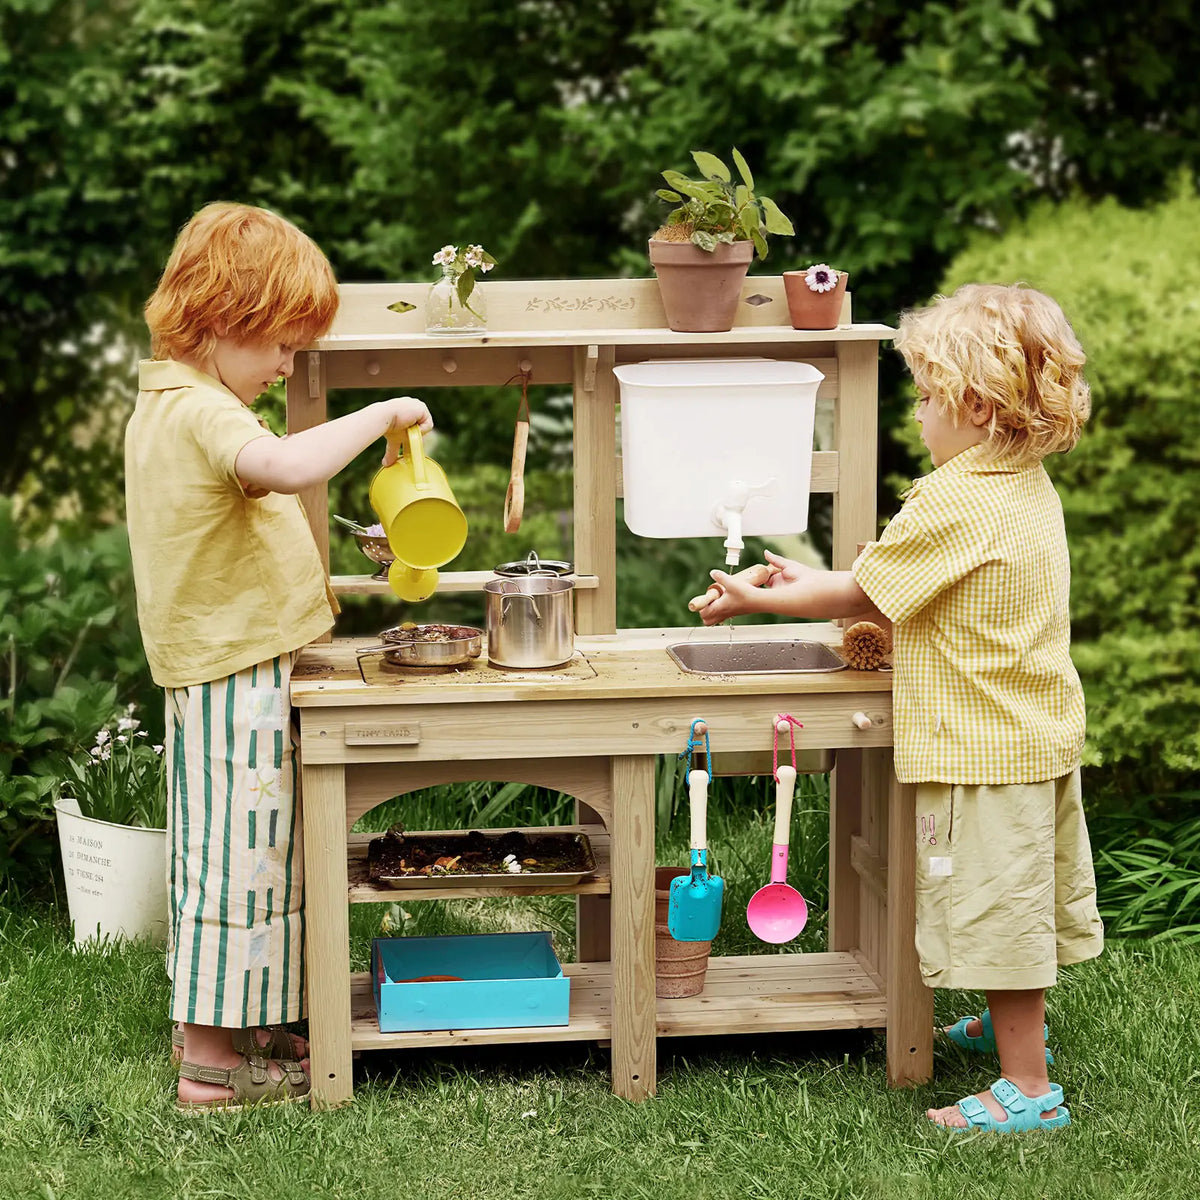
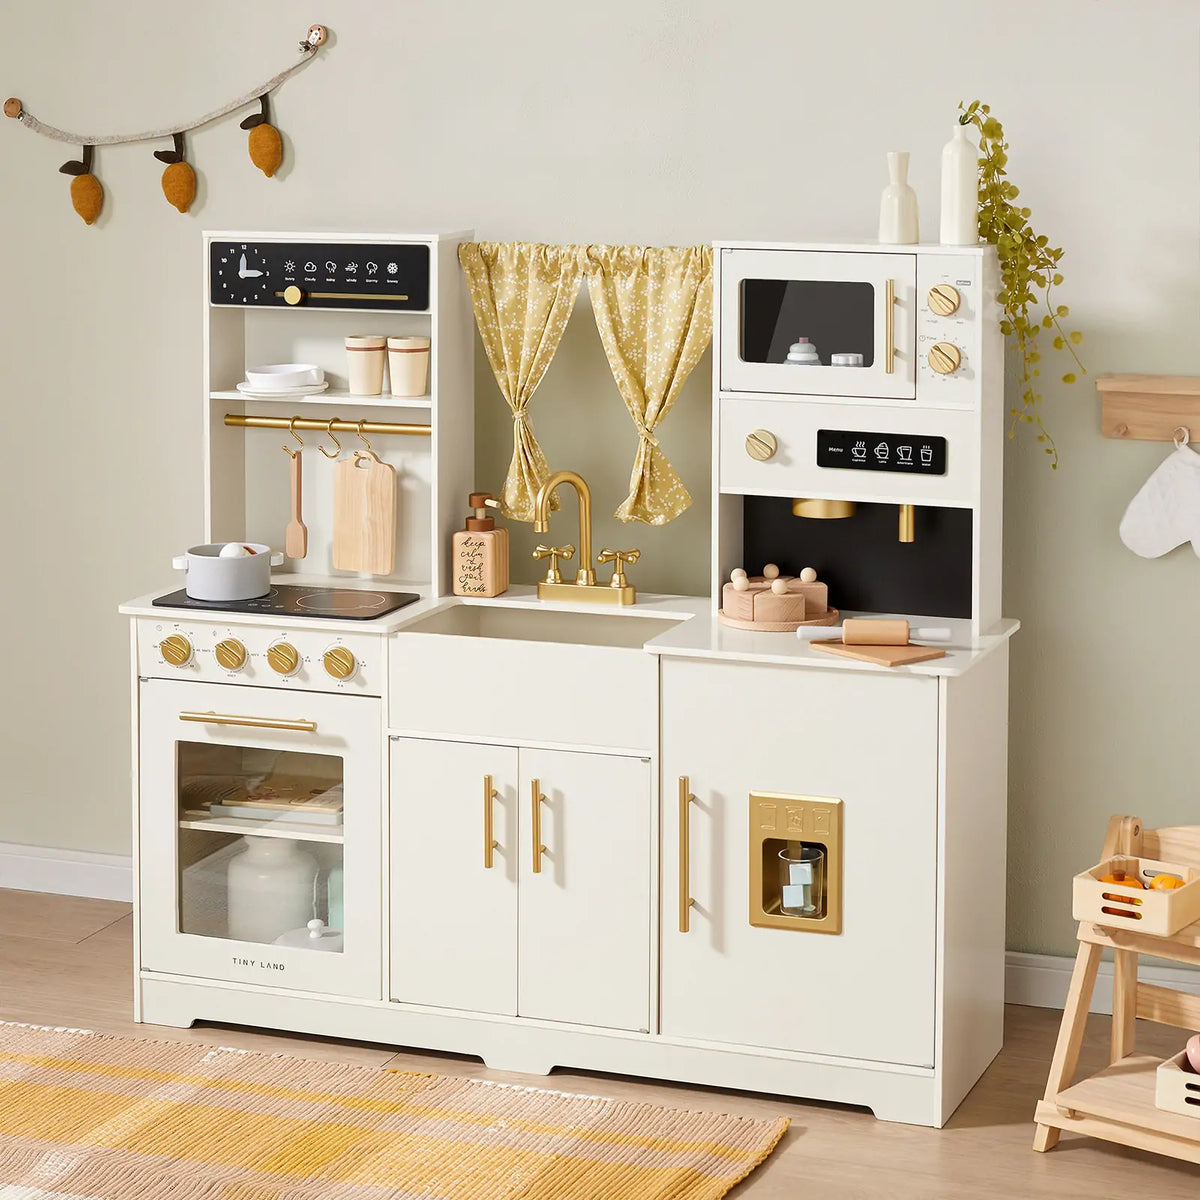
Baking together is a classic way to connect. Use your child-sized Tiny Land play kitchen to make bunny-shaped biscuits using a rabbit cookie cutter.
Inspiration:
- Let toddlers decorate with marshmallow tails or mini chocolate chips.
- Try “bunny faces” with fruit slices or edible markers.
- Use this as an opportunity to introduce counting: “Let’s put 3 chocolate chips on each bunny!”
Tip for parents:
- Use a lightly floured surface and soft dough to make it easier for little hands to press out bunny shapes.
- Practice measuring and mixing in the play kitchen first—kids love doing real “pretend baking” before moving to the oven.
 Easter Bunny Masks
Ages: 2–6 | Parent involvement: Medium
Kids love dressing up, and creating their own bunny mask is simple and rewarding. You can add a small cotton ball as a bunny tail to the mask or attach it to a headband for extra fun.
Inspiration:
- Add texture with cotton tails, felt ears, or glitter accents to make each mask unique.
- Encourage storytelling: “Let’s hop around like bunnies—what’s our Easter adventure”?
- Organize a mini bunny parade with siblings or friends, and snap photos to remember the moment.
Parent Tip:
Use glue dots or double-sided tape for cotton tails—safe and easy for toddlers to handle.
Easter Egg Splatter Painting & Handprint Chicks
Ages: 1–6 | Parent involvement: Low–Medium
Bring Easter eggs and chicks to life with paint on paper using a Tiny Land easel as your creative canvas. Start by lightly drawing or stenciling egg and chick shapes, then let your kids explore different ways to decorate them.
Inspiration:
- Splatter painting: Use an old toothbrush or small brush to flick paint onto the egg shapes for a playful, textured effect.
- Sponge or hand painting: Dab and blend colors with sponges or fingers—perfect for toddlers who love sensory play.
- Handprint chicks: Press a painted hand onto the paper for the chick’s body, then add eyes and a beak with markers or stickers.
- Encourage open-ended creativity: mix colors, layer textures, or combine techniques so each egg and chick is unique.
Tiny Land Tip:
- Secure the paper on the easel for vertical painting—this keeps mess contained, simplifies cleanup, and gives kids a real “art studio” experience.
- Best done outdoors so kids can get messy freely, enjoy the spring weather, and parents don’t have to worry about spills on furniture or floors.
 Make Your Own Easter Craft Cards
Ages: 2+ | Parent involvement: Medium
Bring Easter creativity to life with handmade craft cards! Kids can mix colors, textures, and layers to make each card truly unique. From colorful scribbles to layered stickers, glitter, washi tape, and cut-out shapes, there’s no limit to the creativity they can explore.
Fun Ideas to Try:
- Layer and combine: Encourage kids to overlap different materials—stickers on top of drawings, glitter over paint, or cut-outs layered for a 3D effect.
- Creative stories: Turn cards into little Easter scenes! For example, a bunny wearing a tiny hat that can be lifted to reveal a colorful egg underneath, or a farm full of eggs that “hatch” tiny chicks when opened.
- Interactive touches: Fold parts of the card, add flaps, or small pop-up elements to make opening the card a playful surprise.
- Creative freedom: Let kids choose colors, patterns, and decorations freely—every card becomes a little masterpiece.
- Mini Easter adventures: Use the cards as part of a scavenger hunt, house decorations, or a fun “Easter mailbox” to collect and admire their creations.
Tiny Land Tip:
Organize all craft supplies in a small basket or tray so kids can explore and experiment without waiting for materials.
Extra idea:
Display finished cards on a string, bulletin board, or table centerpiece—kids will love seeing their colorful, layered, and story-filled creations brighten up the room.

Easter Egg Garland DIY
Ages: 2–8 | Parent involvement: Medium
Get ready for flying Easter eggs! Make a garland with your kids and watch as glitter, stickers, and laughter take over—sometimes even more fun than the eggs themselves! We’ve got two ways to play: a small indoor garland and a larger outdoor nature-inspired wreath, bringing spring creativity to every corner of your home.
Indoor Mini Egg Garland
Let’s Play!
- Mix it up: Use colorful paper, fabric scraps, old magazines… the messier, the more fun!
- Add some magic: Sprinkle glitter, stick on stickers, or glue dried flowers—every egg will be totally unique.
- Pro tip: Punch holes and string the garland beforehand so kids can focus on decorating, not threading.
- Show it off: Hang it on windows, doors, or the mantel—your child’s “egg gallery” will bring daily smiles and warmth.
Tiny Land Tip:
Encourage kids to name each egg or invent little stories—“Bouncy Egg loves to dance on the window!”—turning your garland into a mini springtime theater.
Outdoor Nature Garland
Let’s Play!
- Collect spring treasures: Pinecones, sticks, wildflowers, leaves, colorful stones… take kids to the yard, garden, or even the local park to gather materials.
- Mix, Match & Create: Combine eggs, dried flowers, and natural elements. Use sturdy string or wire to assemble a larger, weighty wreath that really pops.
- Add fluttering fun: Let kids attach ribbons or feathers that sway in the breeze—your garland will literally come alive!
- Display: Hang it on your front door, porch, or driveway entrance to surprise neighbors with a cheerful spring display!
Parent Tips:
- Use weather-resistant materials so the garland can withstand outdoor conditions.
- Supervise children while collecting natural items—sticks or leaves may have sharp edges or insects.
 Wrap-Up & Looking Ahead
From baking bunny biscuits and creating handprint chicks to making craft cards and colorful garlands, these activities are all about sparking creativity, encouraging imagination, and sharing fun family moments. Whether it’s the messy joy of painting, the pride of a handmade card, or the thrill of seeing your garland flutter in the breeze, your kids will love every minute of it—and you’ll love watching them explore and play.
Stay tuned for Part 2!
We’ve got five more hands-on, playful Easter ideas coming your way—from treasure hunts to sensory experiments—that will get your kids laughing, exploring, and celebrating the season even more. Don’t miss it! Part 2 is coming soon—stay tuned!