 Skip to content

Introduction
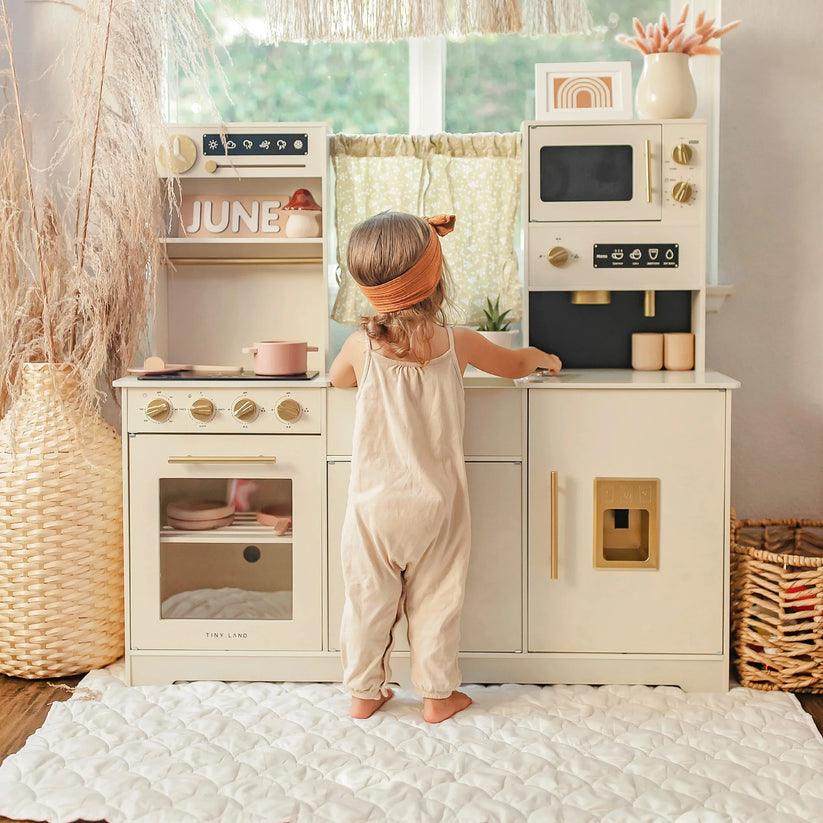
A play kitchen is a fantastic item that encourages kids' imagination and inventiveness. They can enjoy themselves while imitating what they see adults doing in a real kitchen. You and your child can work together on an interesting DIY project by creating a toy kitchen. We'll walk you through the steps of creating a play kitchen from scratch in this article. This step-by-step instruction manual will assist you in building a special play kitchen that your child will appreciate, whether you are an experienced DIY enthusiast or a novice.
Materials and Tools
Before you start building the play kitchen, gather the necessary materials and tools. Here's a list of items you will need:
- Plywood sheets
- Screws and nails
- Drill and screwdriver
- Saw
- Sandpaper
- Hinges and handles
- Paint and brushes
- Hooks and knobs
- Faucet and sink
- Play kitchen appliances (optional)
- Decorative accessories
Planning the Design
Plan out the layout of your play kitchen first. Take into account your budget, your child's preferences, and the space that is available. Draw a rough schematic of the kitchen including the sizes and locations of appliances such the stove, sink, and cabinets. This will act as a guide throughout the building process.
Building the Frame
The play kitchen's frame should be built first. Plywood sheets should be measured and cut in accordance with your design. Put the components together with screws and nails. Ascertain if the frame is solid and stable. If more assistance is required, you can add it.
Adding the Kitchen Appliances
You can include play kitchen appliances to give the play kitchen a more genuine appearance. A stove, oven, refrigerator, and microwave are examples of these. The locations for these appliances will be measured and marked. With the use of screws and hinges, firmly fasten them to the frame.
Creating the Sink and Countertop
Next, create a sink and countertop for the play kitchen. Cut an opening for the sink and attach a faucet. Use a real sink or repurpose a large bowl for the sink. For the countertop, you can use plywood or repurpose an old table. Sand the surface and attach it to the frame.
Painting and Decorating
It's time to give the play kitchen some color and character now. To provide a smooth finish, sand the entire surface. Apply kid-friendly paint to the frame, kitchen appliances, and countertop. Allow it to totally dry. Knobs, hooks, and other decorative items can be added to the kitchen once it has dried.
Final Touches
Finalize the play kitchen's details to heighten its realism. A backsplash consisting of wallpaper or sticky tiles can be installed. Include window curtains and a small blackboard for writing menus or cooking instructions. Make the kitchen your own by adding your child's artwork or making personalised labels for the cabinets.
Safety Considerations
Make safety a top priority when constructing the play kitchen. To avoid any injuries, make sure that all the corners and edges are smooth. Securely fasten all components to the frame to avoid accidents. If using electrical components for appliances, follow proper safety guidelines and keep them out of reach of young children.
Conclusion
A fun DIY project that enables you to make a unique toy for your child is building a play kitchen. This step-by-step tutorial will show you how to build a play kitchen that will entertain your child for hours while also stimulating their imagination. Don't forget to involve your child in the process and encourage them to express their creativity.

FAQs
How long does it take to build a play kitchen?
The complexity of the design and your level of skill will determine how long it takes to construct a play kitchen. It can take anywhere from a few days to a few weeks, on average.
Can I customize the play kitchen according to my child's favorite colors?
Absolutely! To make the play kitchen special, you can add individualized touches and select paint hues that go well with your child's tastes.
Do I need to be an experienced DIYer to build a play kitchen?
No, making a toy kitchen can be a project suitable for beginners. Simply follow the directions, take your time, and take pleasure in the activity.
Are there any safety concerns I should keep in mind?
Safety is crucial, no doubt. Avoid utilizing small, potentially choking-hazardous bits and round off any sharp edges. Also, make sure that all parts are firmly fastened.
Can I repurpose old furniture for building the play kitchen?
Yes, recycling old furniture can help you save money and give your play kitchen a distinctive appearance. Just make sure the tools are secure enough for kids to use.