





Creating a kids’ art corner doesn't require a dedicated playroom or an elaborate collection of supplies. With a play tent, an art easel, and a few everyday materials, you can turn a small corner of your home into a welcoming place for drawing, painting, storytelling, and imaginative play.
The key is to give each element a purpose. An easel provides a dedicated surface for making art, while a play tent creates a cozy setting for reading, imagining, and dreaming up new ideas. Together, they can form a flexible creative space that fits naturally into family life.
Whether you're working with a small living room or a dedicated playroom, here’s how to create an art corner that is practical, inviting, and easy to maintain.

1. Choose the Right Spot for Your Art Corner
Start by identifying an area where your child can create without disrupting the rest of the room. A corner of the living room, a section of a playroom, or an unused area of a bedroom may work well.
Before arranging the tent and easel, consider three things:
-
Lighting: Choose a spot with comfortable natural light when possible. Avoid glare on the easel's drawing surface.
-
Movement: Leave enough room for your child to approach the easel, step back to look at artwork, and enter or exit the tent comfortably.
-
Cleanup: Hard flooring is often convenient for art activities. If your space has carpet, use a suitable protective mat when working with paint or glue.
Choose a location where an adult can supervise younger children easily, and avoid blocking doorways or frequently used walkways.
You don't need to fill the entire area with furniture. A clearly defined creative zone with a few well-chosen items can be more useful than a crowded corner full of supplies.

2. Use a Play Tent to Create a Cozy Creative Retreat
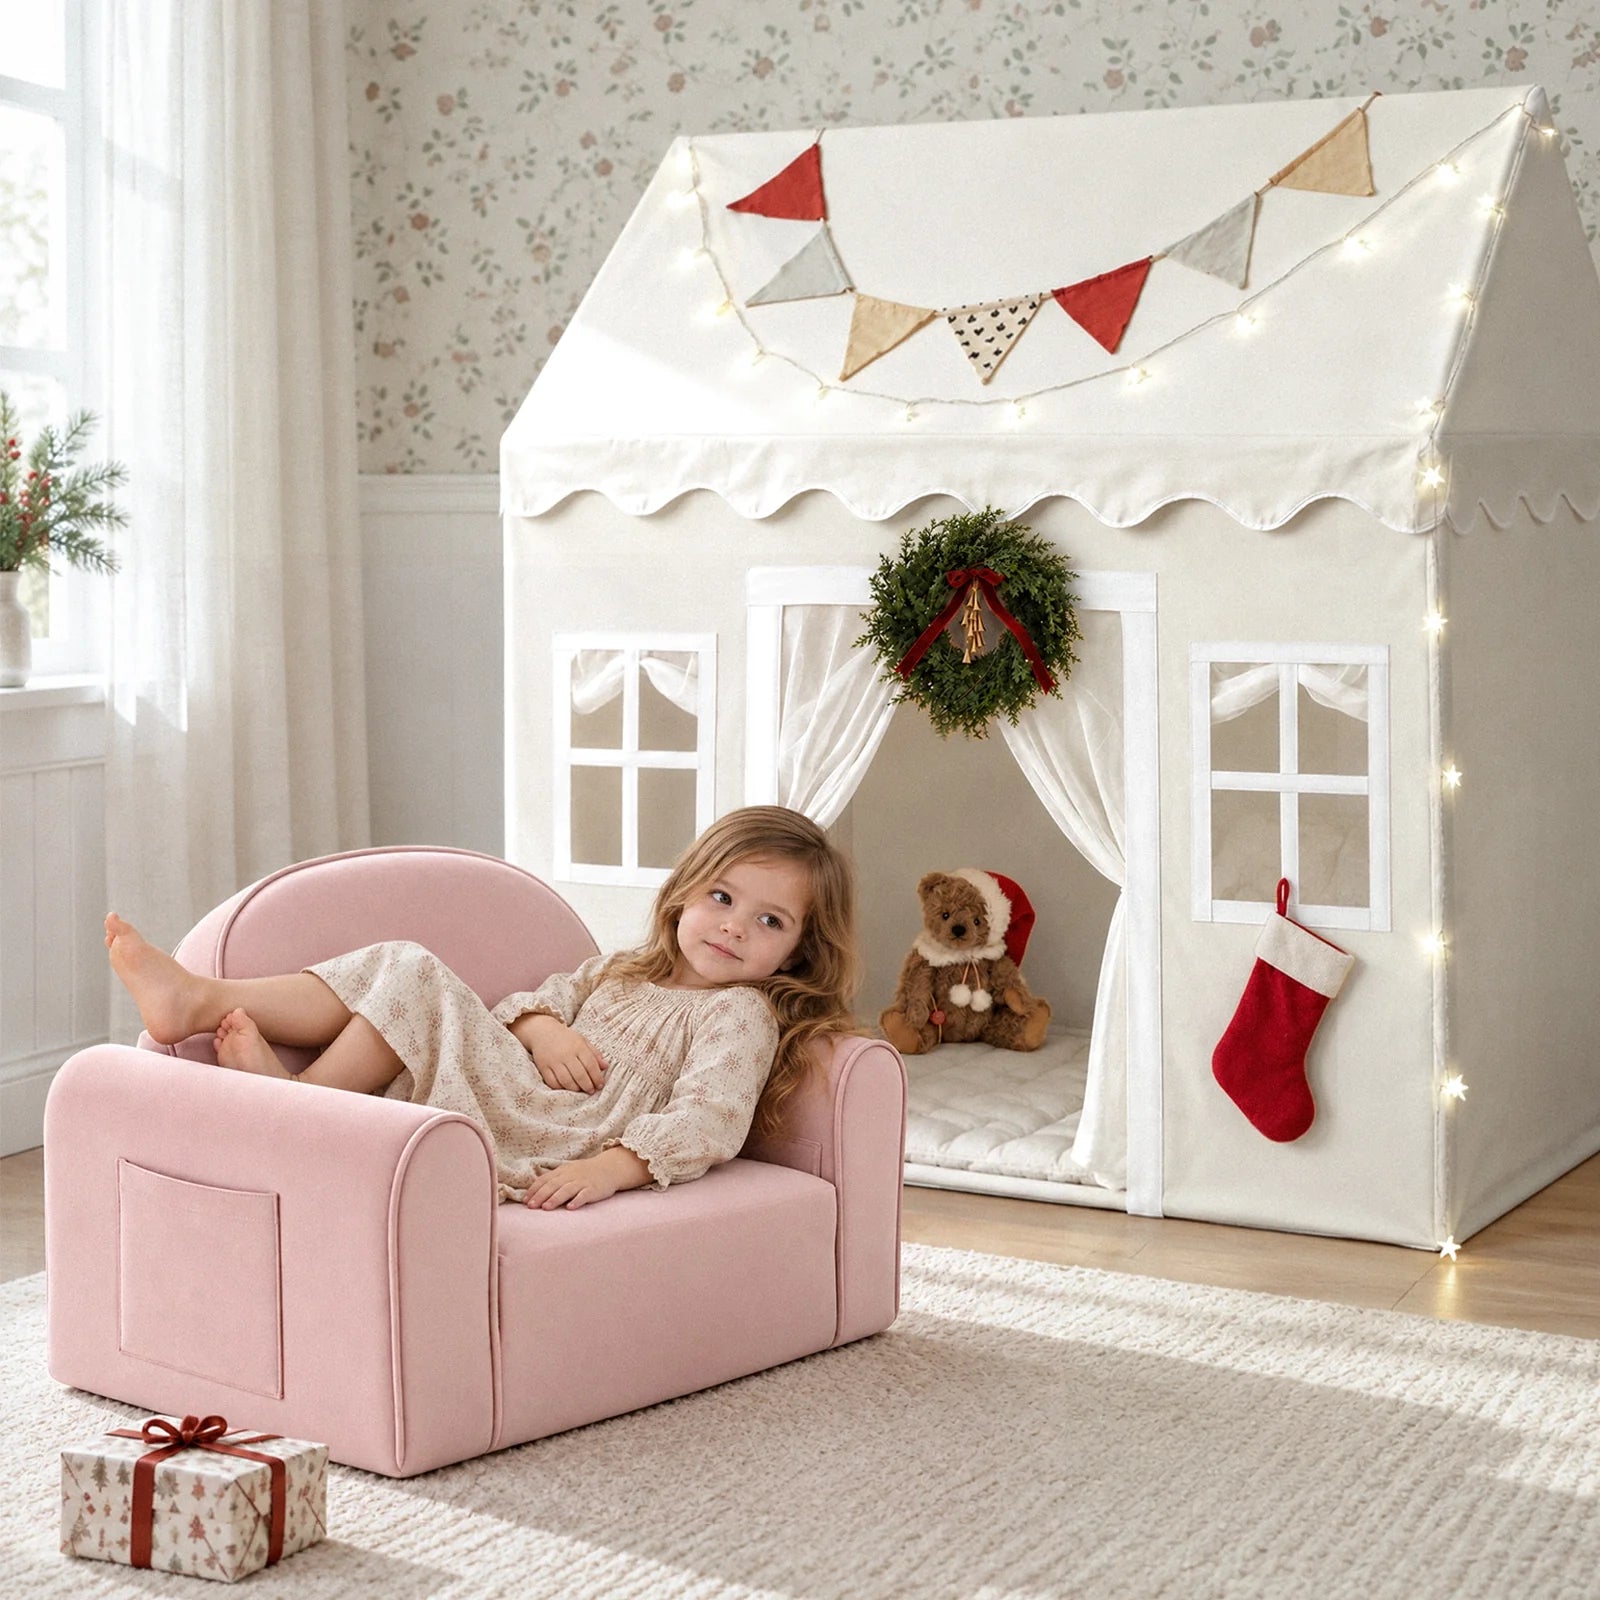
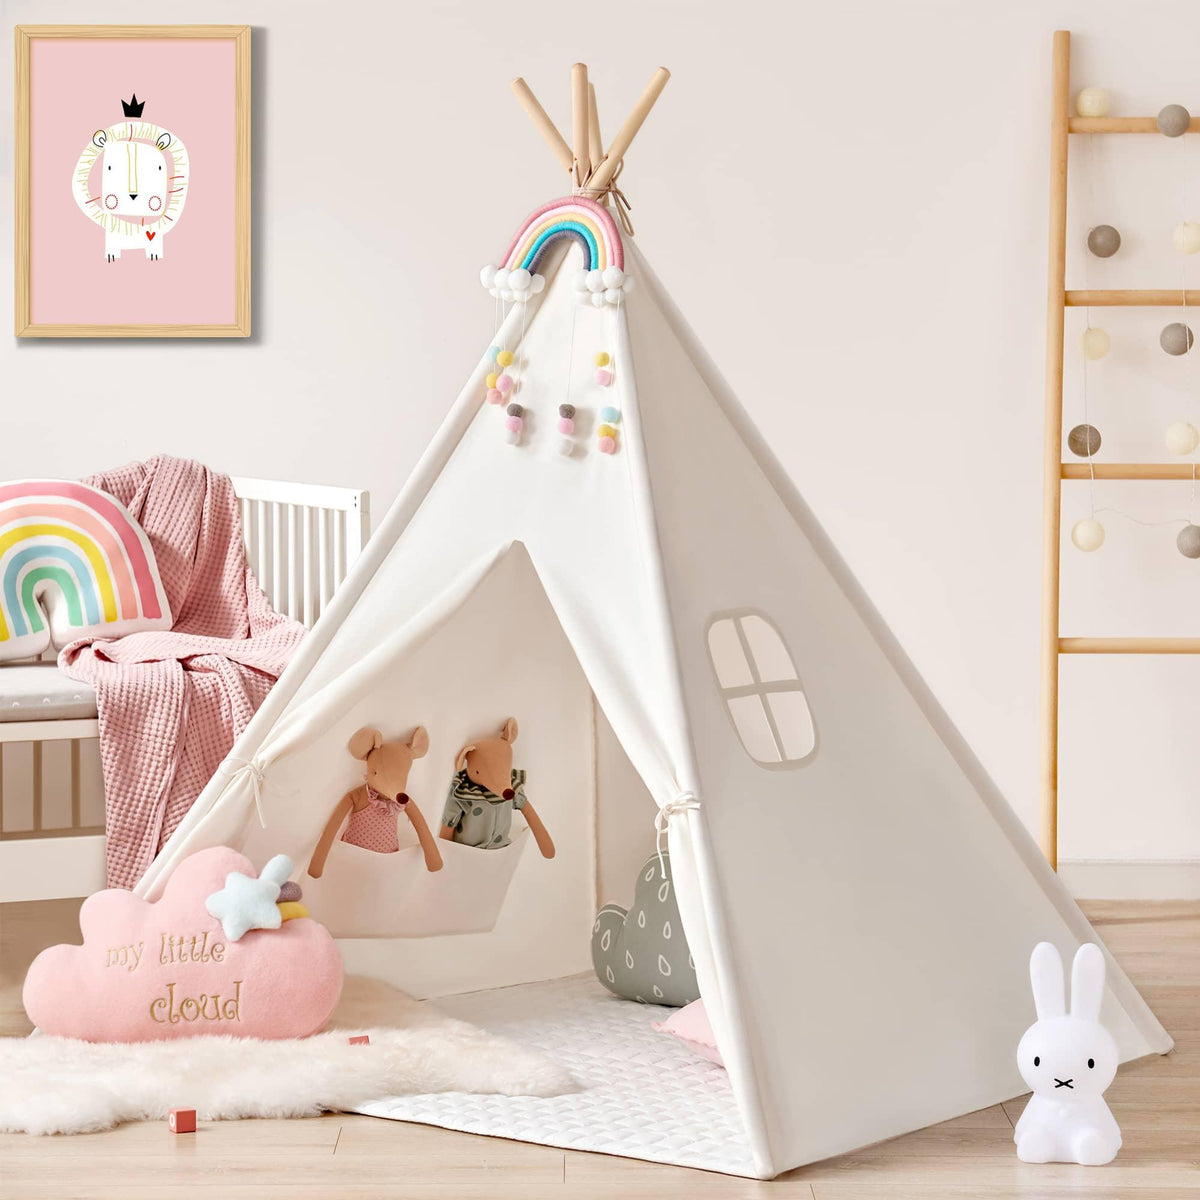
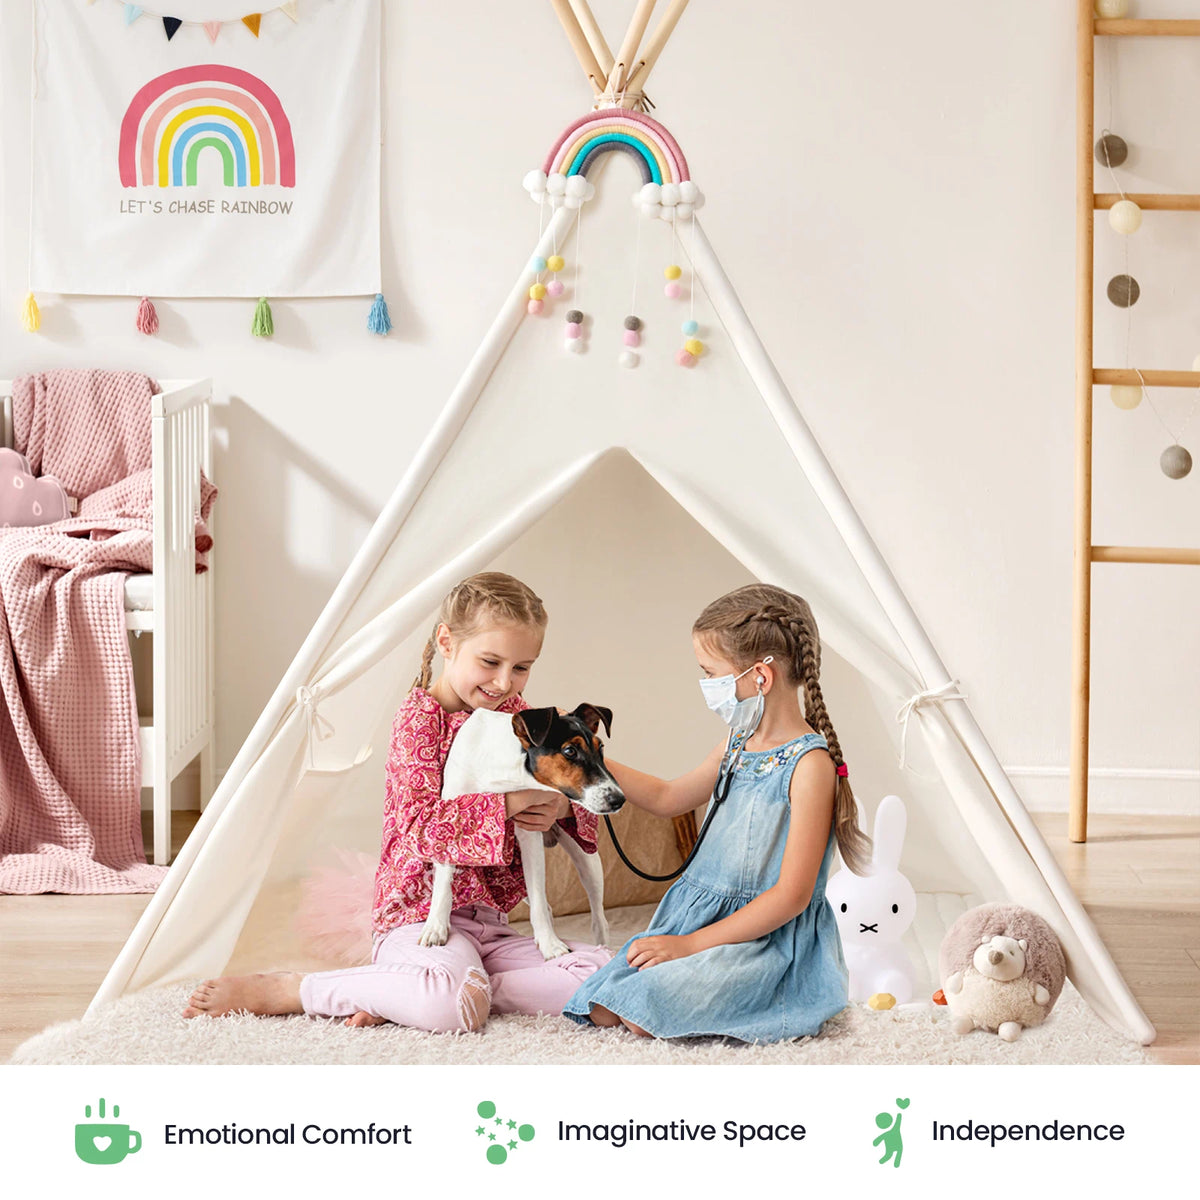
A play tent gives the art corner a comfortable place for imagination and quieter activities. Rather than treating it as another surface for painting, use it to complement the creative work that happens at the easel.
For example, your child might draw a magical forest, then turn the tent into a woodland hideaway. A picture of a castle could inspire a pretend royal studio, while a drawing of outer space might lead to an imaginary astronaut adventure.
To make the tent part of your art corner:
-
Keep the interior simple. A cushion or a few favorite stuffed animals may be enough to make the space inviting.
-
Give it a flexible purpose. Use the tent for looking through picture books, telling stories, or imagining what to draw next.
-
Connect it to the art station. Display a few selected drawings nearby or coordinate simple colors to make the two areas feel connected.
-
Leave the entrance clear. Position the tent so children can move in and out without squeezing past the easel or other furniture.
The tent doesn't need to contain art supplies. Its role is to create a setting for ideas, stories, and pretend play that children can carry into their next drawing or painting activity.

3. Choose an Easel That Fits Your Child and Your Space
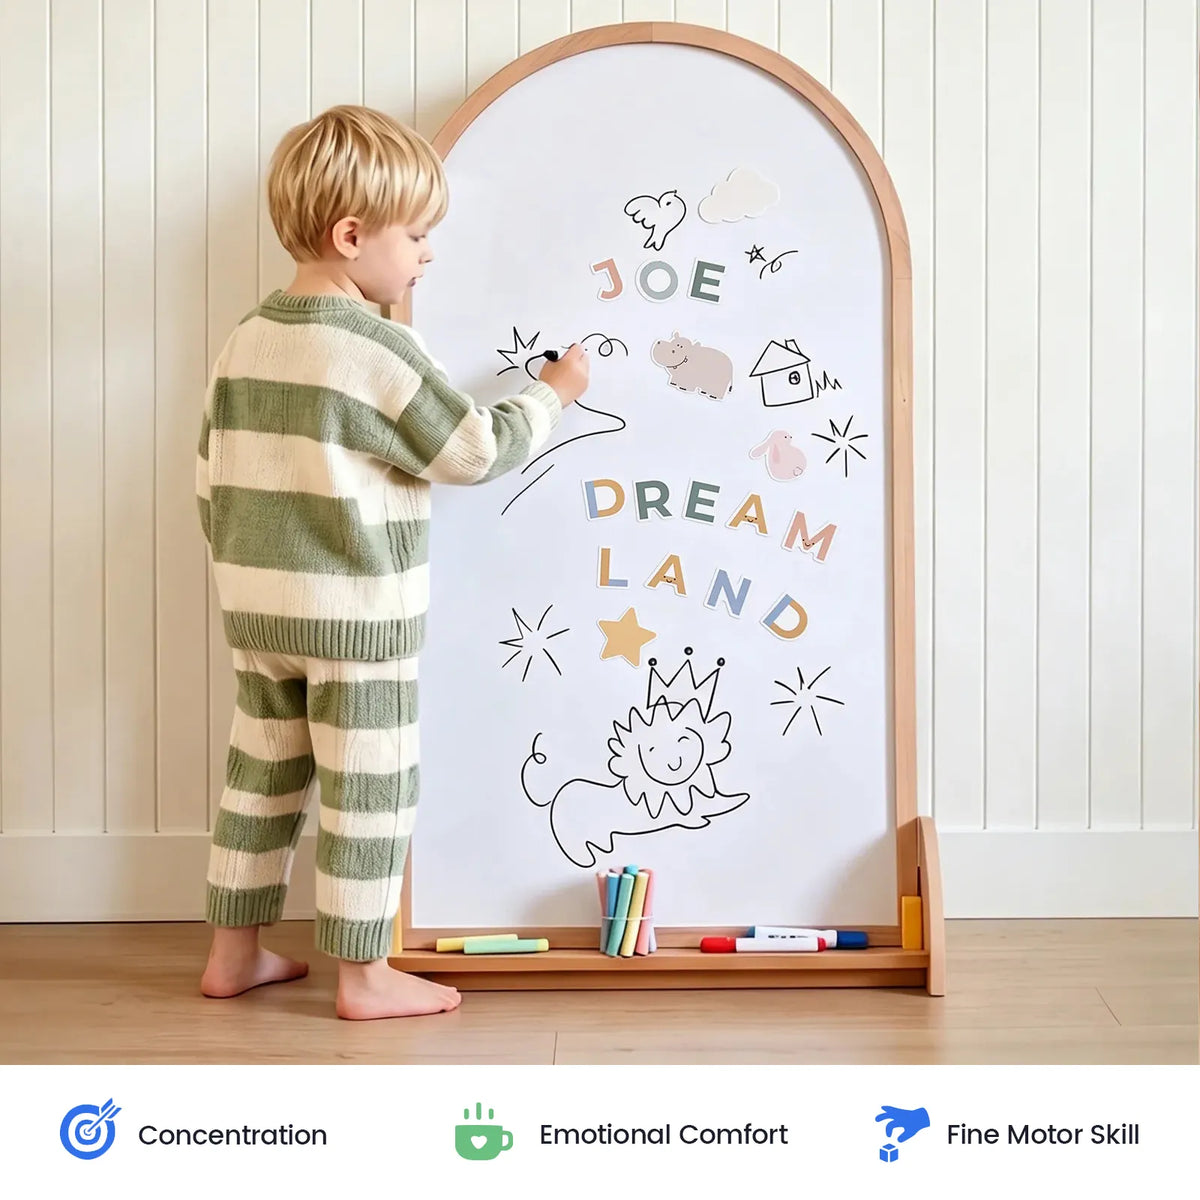
An easel gives children a dedicated place to turn their ideas into pictures. Working on a vertical surface also offers a different experience from drawing at a table, allowing children to experiment with larger marks, lines, and colors.
When choosing an easel for your art corner, focus on how your child will use it.
Find a comfortable height. Choose an easel that allows your child to reach the working surface comfortably. If siblings will share it, consider whether the design accommodates different heights.
Consider the drawing surface. Depending on the model, an easel may include a whiteboard, chalkboard, paper roll, or magnetic surface. Choose features that suit the materials your child enjoys using.
Think about the footprint. The easel should fit without blocking the tent entrance or creating a crowded walkway. A compact or tabletop option may be more practical for a smaller room.
Keep basic supplies nearby. Place a small selection of paper, crayons, or age-appropriate markers within easy reach. A simple setup makes it easier to begin an activity without extensive preparation.
Once the easel is in place, let your child choose the first sheet of paper, select a few colors, or decide what to draw. These small choices help make the art station feel like their own space.

4. Arrange the Tent and Easel for Your Home
The best layout depends on your available space. Instead of trying to recreate a picture-perfect playroom, focus on making the two areas work together.
For a small living room
Place the easel against a suitable wall and position the tent nearby, leaving a clear path between them. Use one small container for frequently used art supplies rather than adding multiple storage units.
Keep decorations minimal so the area fits naturally into your home. When art time is over, return the supplies to their designated spot and store loose paper in a folder.
For a dedicated playroom
Create two connected activity zones. Place the easel near the art materials and a protective mat, then use the tent as a cozy area for books, storytelling, or imaginative play.
A nearby low shelf can hold supplies and finished artwork, provided it is stable, secured as appropriate, and suitable for your child's age.
For a shared children's space
Make the layout easy for siblings to understand. Give art materials a designated home and leave enough room for one child to draw while another uses the tent.
If both children want to use the easel, provide separate sheets of paper or introduce simple turn-taking routines.
A useful rule of thumb: Keep the easel in the easiest-to-clean part of the space and use the tent for activities that don't require paint, glue, or extensive supplies. This creates a natural separation between hands-on art and imaginative play without making the area feel divided.
Always follow the manufacturers' instructions for assembling and positioning the tent and easel, and make sure both remain stable during use.

5. Start with a Small, Useful Collection of Art Supplies
A creative space doesn't need an extensive craft collection. A few familiar materials can be enough to help children get started.
Begin with:
-
Blank paper and a sketchbook
-
Chunky crayons or age-appropriate washable markers
-
Washable paints and suitable brushes, when appropriate
-
Pre-cut paper shapes for collage
-
Child-safe scissors for children who are ready to use them with supervision
-
A folder or display clips for finished artwork
Store frequently used art supplies in clearly defined containers or a designated organizer. Keep small accessories and materials that require adult handling out of reach of younger children.
It also helps to separate activities by how much preparation they require. Drawing with crayons may be easy to start at any time, while painting or gluing usually calls for a protected surface and extra cleanup.
Begin with a few options and introduce new materials as your child shows interest. The goal is to make creative activities accessible without filling the art corner with supplies that rarely get used.

6. Try Creative Activities That Connect the Tent and Easel
Once the space is ready, simple prompts can help children explore different ways to use it. These activities don't need to produce a perfect finished picture. Let your child decide how the idea develops.
Draw a World for the Play Tent
Invite your child to imagine who might visit the tent. Could it be a forest explorer's shelter, a home for friendly creatures, or a secret artist's studio?
They could draw a sign for the entrance, create a map of the imaginary world, or sketch the characters who live there. The drawing can then become part of a pretend-play adventure.
Create an Imaginary Gallery
Let your child choose a favorite picture to display near the art corner. They might give it a title, make a simple label, or arrange a pretend exhibition for family members and stuffed animals.
The tent can become a cozy place for telling stories about the artwork, while the easel remains the main place for creating new pictures.
Explore Colors and Shapes
Offer a few crayons or washable paints and invite your child to experiment with lines, shapes, and colors.
Try asking, “What would you like to add to your picture?” or “What happens if you put these colors next to each other?”
There is no need to direct every step. Let your child experiment and make choices at their own pace.
Design Props for Pretend Play
Invite your child to make a menu for a pretend café, tickets for a puppet show, or a map for a treasure hunt.
These projects connect drawing with imaginative play. The artwork becomes something children can use in a game rather than something that needs to be completed and put away immediately.
You can also introduce seasonal themes, such as autumn leaves, winter scenes, or spring flowers, whenever your child is looking for a new idea.

7. Display Artwork and Keep the Space Organized
Children's artwork can give the art corner a personal touch. A small display area makes selected pictures visible without letting paper and supplies take over the room.
Try these simple habits:
-
Rotate the display. Choose a few pictures to show and replace them as new artwork is made.
-
Keep a portfolio. Store selected drawings in a folder or sketchbook.
-
Let your child choose. Ask which pieces they want to display, keep, or use in another activity.
-
Clean up together. Return supplies to their containers and clear the working surface after each session.
You don't need to display every picture. Rotating artwork keeps the area tidy and leaves room for new creations.
For larger projects, consider photographing the finished work before storing or recycling it. This gives you a simple way to preserve memories without allowing paper to accumulate indefinitely.

8. Keep the Art Corner Safe and Easy to Maintain
A practical art corner should work for everyday family life, not just look good in photos.
-
Check that the tent and easel are assembled correctly and remain stable during use.
-
Choose art materials appropriate for your child's age and follow product instructions.
-
Supervise young children around paints, scissors, small accessories, and materials that may present choking or injury risks.
-
Keep walkways clear of loose fabric, cords, and supplies.
-
Use suitable protective coverings when working with messy materials.
-
Follow the tent manufacturer's safety and ventilation instructions. Do not use a play tent as an enclosed sleeping space unless it is specifically designed for that purpose.
Before an activity begins, prepare the work surface and gather only the materials you need. Keeping a cleaning cloth and a designated container for used supplies nearby can make the end-of-activity routine easier.
A few simple habits help keep the art corner ready for the next creative session.

Create a Little Space for Big Ideas
A kids' art corner doesn't need a dedicated room or an elaborate collection of supplies. A play tent adds a cozy setting for imagination, while an easel provides a dedicated place to draw, paint, and explore ideas.
By choosing a practical location, arranging the two areas thoughtfully, and keeping art materials accessible, you can create a flexible space that fits naturally into everyday family life.
Start with a simple setup, let your child help make it their own, and adjust the space as their interests change. A small corner of your home can become a welcoming place for pictures, stories, and imaginative adventures—one creative idea at a time.