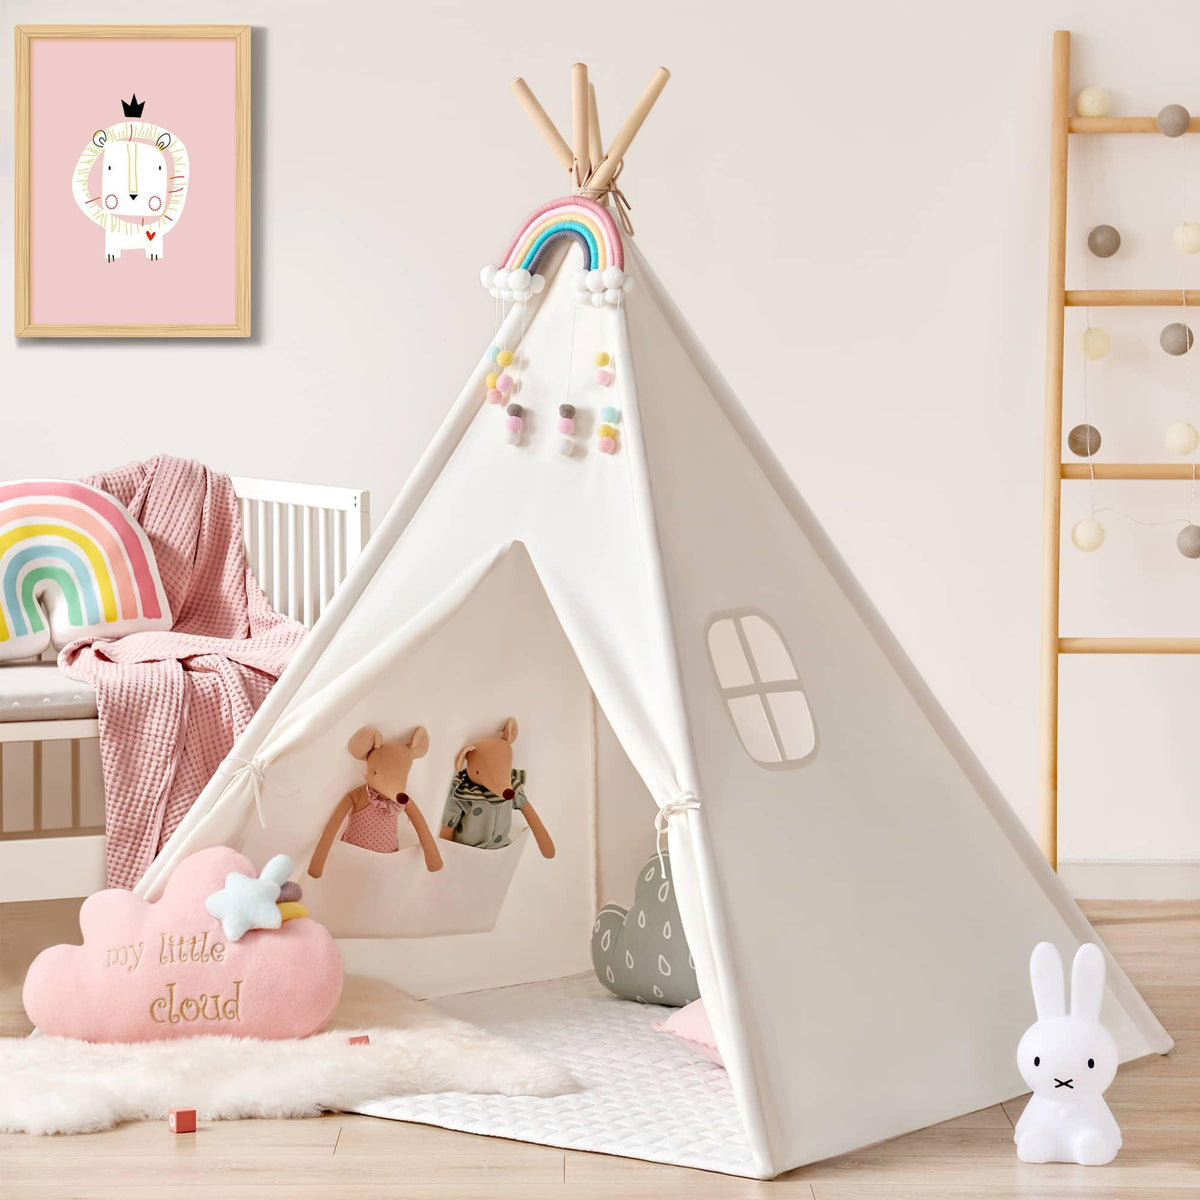
Learn how to make a wooden rainbow with this detailed step-by-step guide. Rainbows are special and make us happy. They have pretty colors and look magical. Did you know that you can make a wooden rainbow too? In this article, we will show you how. It's like a fun craft project that you can do yourself or give as a special gift. Let's get started!
What You Need:
- Wood: Choose strong wood like birch or pine.
- Saw: This helps you cut the wood into pieces.
- Sandpaper: Smoothens the wood's surface.
- Wood Glue: It helps stick the pieces together.
- Clamps: These hold the rainbow while the glue dries.
- Paint or Stain: Use safe colors to make your rainbow colorful.
- Finish: It protects the wood and makes it shiny.
- Brushes: They're for painting or staining.
- Protective Gear: Wear goggles and gloves to stay safe.
Step-by-Step Guide on Making a Wooden Rainbow

Choosing the Right Wood:
opt for a high-quality wood that is sturdy and free from knots or blemishes.
Birch plywood or solid pine are excellent choices due to their durability and smooth finish.
Preparing the Wood:
- Measure and mark the dimensions for your rainbow.
- Use a saw to cut the wood into strips of equal width.
- Sand the edges and surfaces of the wood strips to remove any roughness.
Cutting the Wood into Strips:
- Measure and mark the desired length for each rainbow strip.
- Use a saw to cut the wood along the marked lines.
- Ensure each strip is of the same length.
Sanding the Wood:
- Start with coarse-grit sandpaper to remove any imperfections and smoothen the surface.
- Gradually switch to finer-grit sandpaper for a polished finish.
- Pay attention to the edges and corners, ensuring they are smooth to touch.
Assembling the Rainbow:
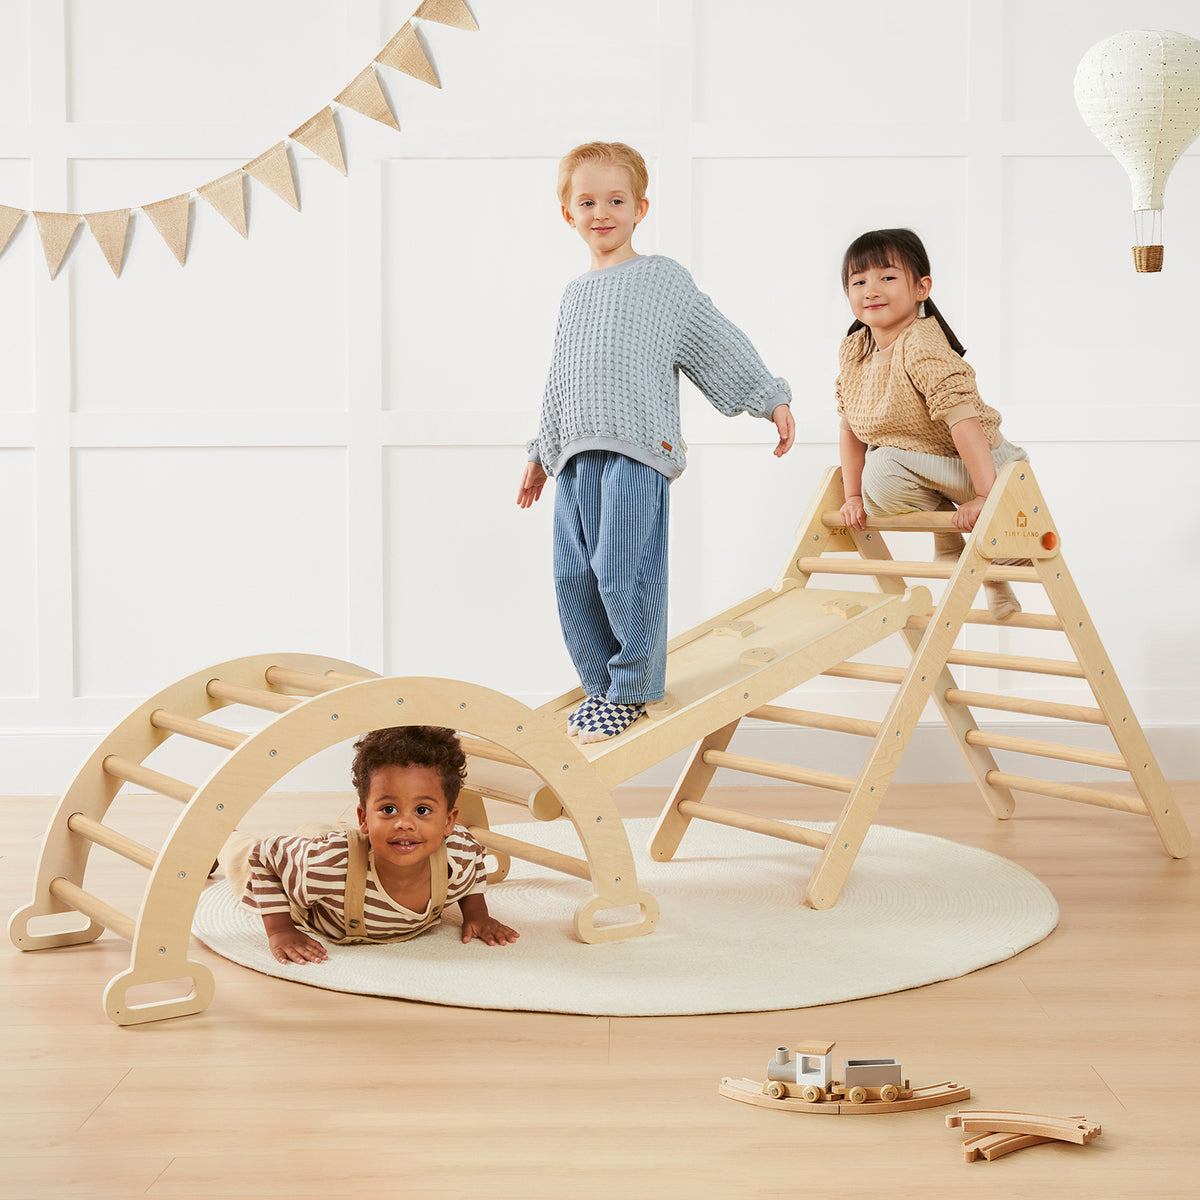
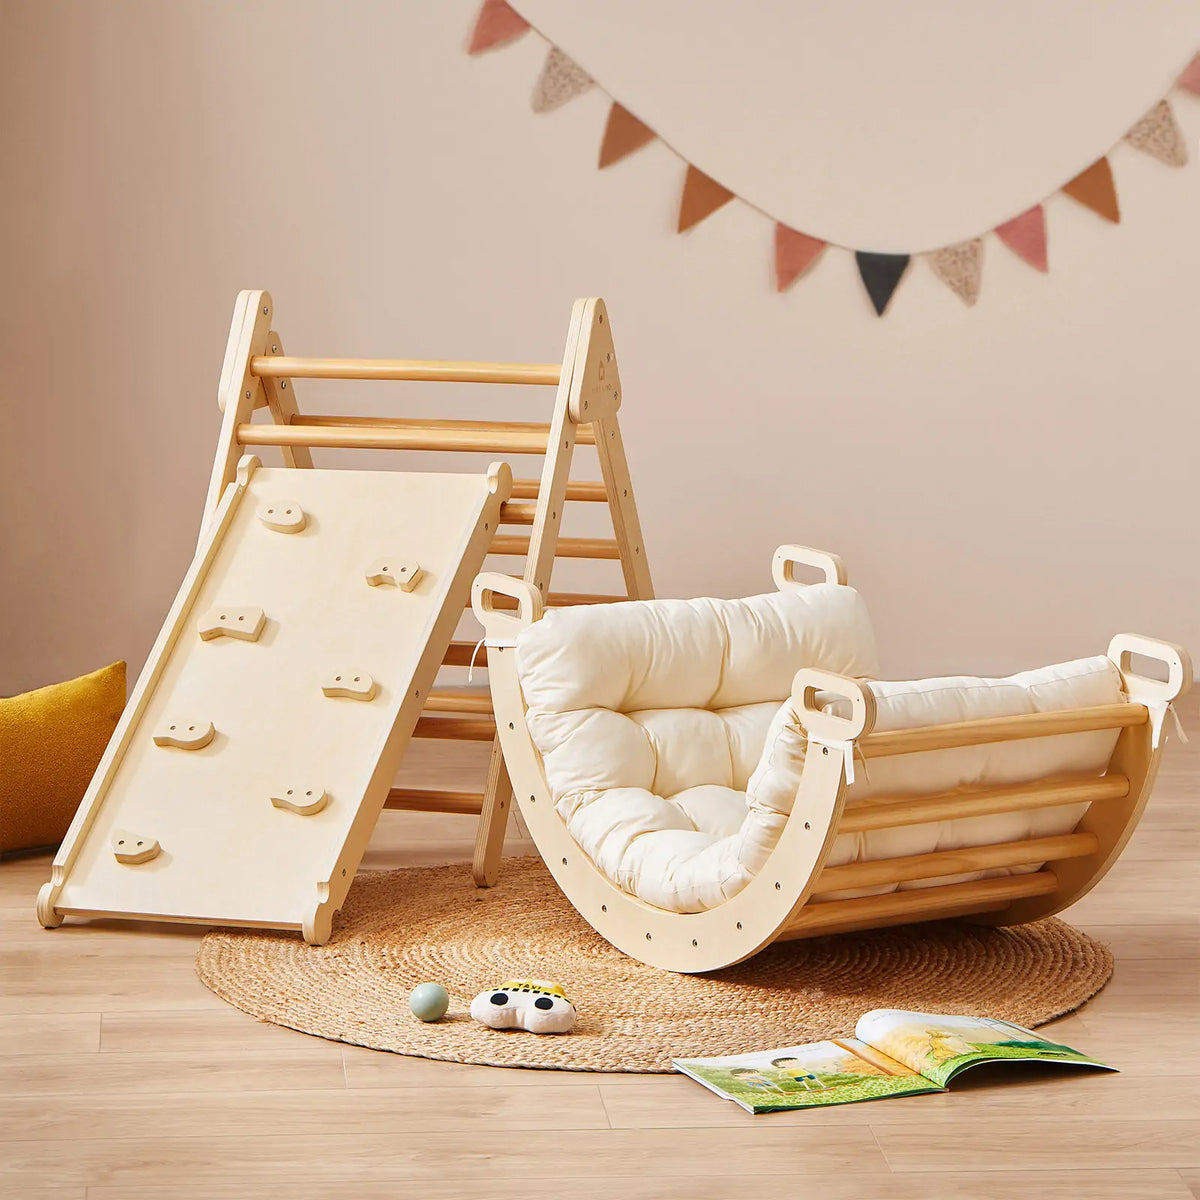
- Arrange the wooden strips in an arch shape, creating the rainbow.
- Apply wood glue to the contact points between each strip.
- Use clamps to hold the rainbow together while the glue dries.
Painting or Staining the Rainbow:
- Choose your desired colors or stains.
- Apply paint or stain evenly to each strip, allowing them to dry between coats.
- You can opt for a traditional rainbow color scheme or explore your creativity with unique combinations.
Adding a Finish:
- Once the paint or stain is dry, apply a clear finish to protect the wood and enhance its appearance.
- Follow the manufacturer's instructions for the chosen finish.
- Allow the finish to dry completely before handling the wooden rainbow.
Tips and Tricks for Making a Wooden Rainbow
Using Templates or Stencils: If you're new to woodworking, consider using templates or stencils to guide your cuts and shapes.
Creating Different Sizes and Shapes: Experiment with different widths and heights for your rainbow to add variety.
Experimenting with Colors and Patterns: Don't be afraid to get creative with colors and patterns to make your wooden rainbow unique.
Adding Personal Touches: Consider adding embellishments like glitter, decals, or engraved designs to personalize your wooden rainbow.
Why Making Wooden Rainbows is Fun:
- It makes you think creatively and solves problems.
- You can improve your skills with cutting and painting.
- It helps your brain develop and think in new ways.
- Wooden rainbows are better for the environment than plastic toys.
How to clean Grimm's wooden toys?
To clean the toys, use a damp cloth and a bit of soapy water. Gently wipe off any dirt. Don't put them near a heater to dry or the wood might crack. Let them dry at room temperature.
How do you keep your wooden toys safe and in good condition?
To keep your wooden toys nice, find a dry and cool spot. Don't put them in the sun or near hot things or water. Don't keep them in tight containers or plastic bags because that can make the wood wet and grow mold.
Final Words:
Hope you like our post on how to make a wooden rainbow. Making a wooden rainbow is a fun project. It brings nature's beauty to your home or makes a great gift. Just follow the steps, gather your materials, and be safe. Let your imagination run wild, try different colors, and enjoy making something beautiful with your own hands.
FAQs:
Q: Can I use different types of wood for my rainbow?
A: You can use different types of wood for different looks.
Q: Is it safe for kids to make a wooden rainbow?
A: Yes, but adults should supervise and use safe tools.
Q: Can I make a bigger rainbow?
A: Absolutely! You can make it any size you want.
Q: What else can I use instead of paint or stain?
A: You can use beeswax or natural oils for a different finish.
Q: Can I keep the wood without painting or staining?
A: Yes, you can use a clear finish to keep it natural and beautiful.


